Stone polishing is an activity that requires patience, skill and, above all, the right tools and equipment. If you want to be a professional stone polisher, it is important to acquire the basic skills, understand the principles and have quality tools at your disposal. Because quality tools are half the success. The rest is only in your hands.
In this article, we will take a detailed look at the steps to follow and the technical equipment that will help you achieve perfect results.
Polishing a stone, achieving a brilliant shine and perfect color has only one honest procedure
There are preparations, chemistry and stone polishes that will give you temporary results. It is a process with uncertain lifetime and color stability. Therefore, we pay attention only to professional technological procedures.
How would we briefly define stone polishing?
For centuries, the stone has been polished from the coarsest grit to the finest grit (indicated by a grid #) This means that first more material is removed with a coarser grinding grain and gradually a finer grain is used until the process is finished by felting with polishing paste or polishing dust. It is not possible to skip any of the steps from sanding through matt gloss and color enhancement to high gloss.
How do I know that the stone is fairly polished?
This test is really simple and often even experienced masters do not know it.
- The stone must be clean and dry.
- No traces of mechanical processing (scratches or stains) are visible on the surface of the stone.
- When viewed against the light or against a window, the reflection on the polished surface must be 100% legible, literally mirror-like without defects and matte maps.
What happens if I skip a stage in grinding or polishing?
We will use brief examples to describe the consequences of unprofessionally performed work.
- If I skip the sanding stage, or if this step is not done honestly, it can happen that in the subsequent polishing, scratches or deep pores will show through under the nice color or shine. In this case, there is nothing else to do but go back to the very beginning - grinding and repeat the whole process. And this time really honestly.
- If the stone shines beautifully, but the color and pattern are not very distinct, the problem is probably in the 400, 600, 800 grits. That is, in the undergloss (middle phase of the process), which is the phase between grinding and high final gloss.
- The stone has a beautiful color, but it is dull and you can't see the mirror reflection? Grits of 1200 or 1500 and 3000 complete the polishing process. It is often advisable to use a disc with the BUFF mark or a felt disc with polishing paste or polishing dust (body).
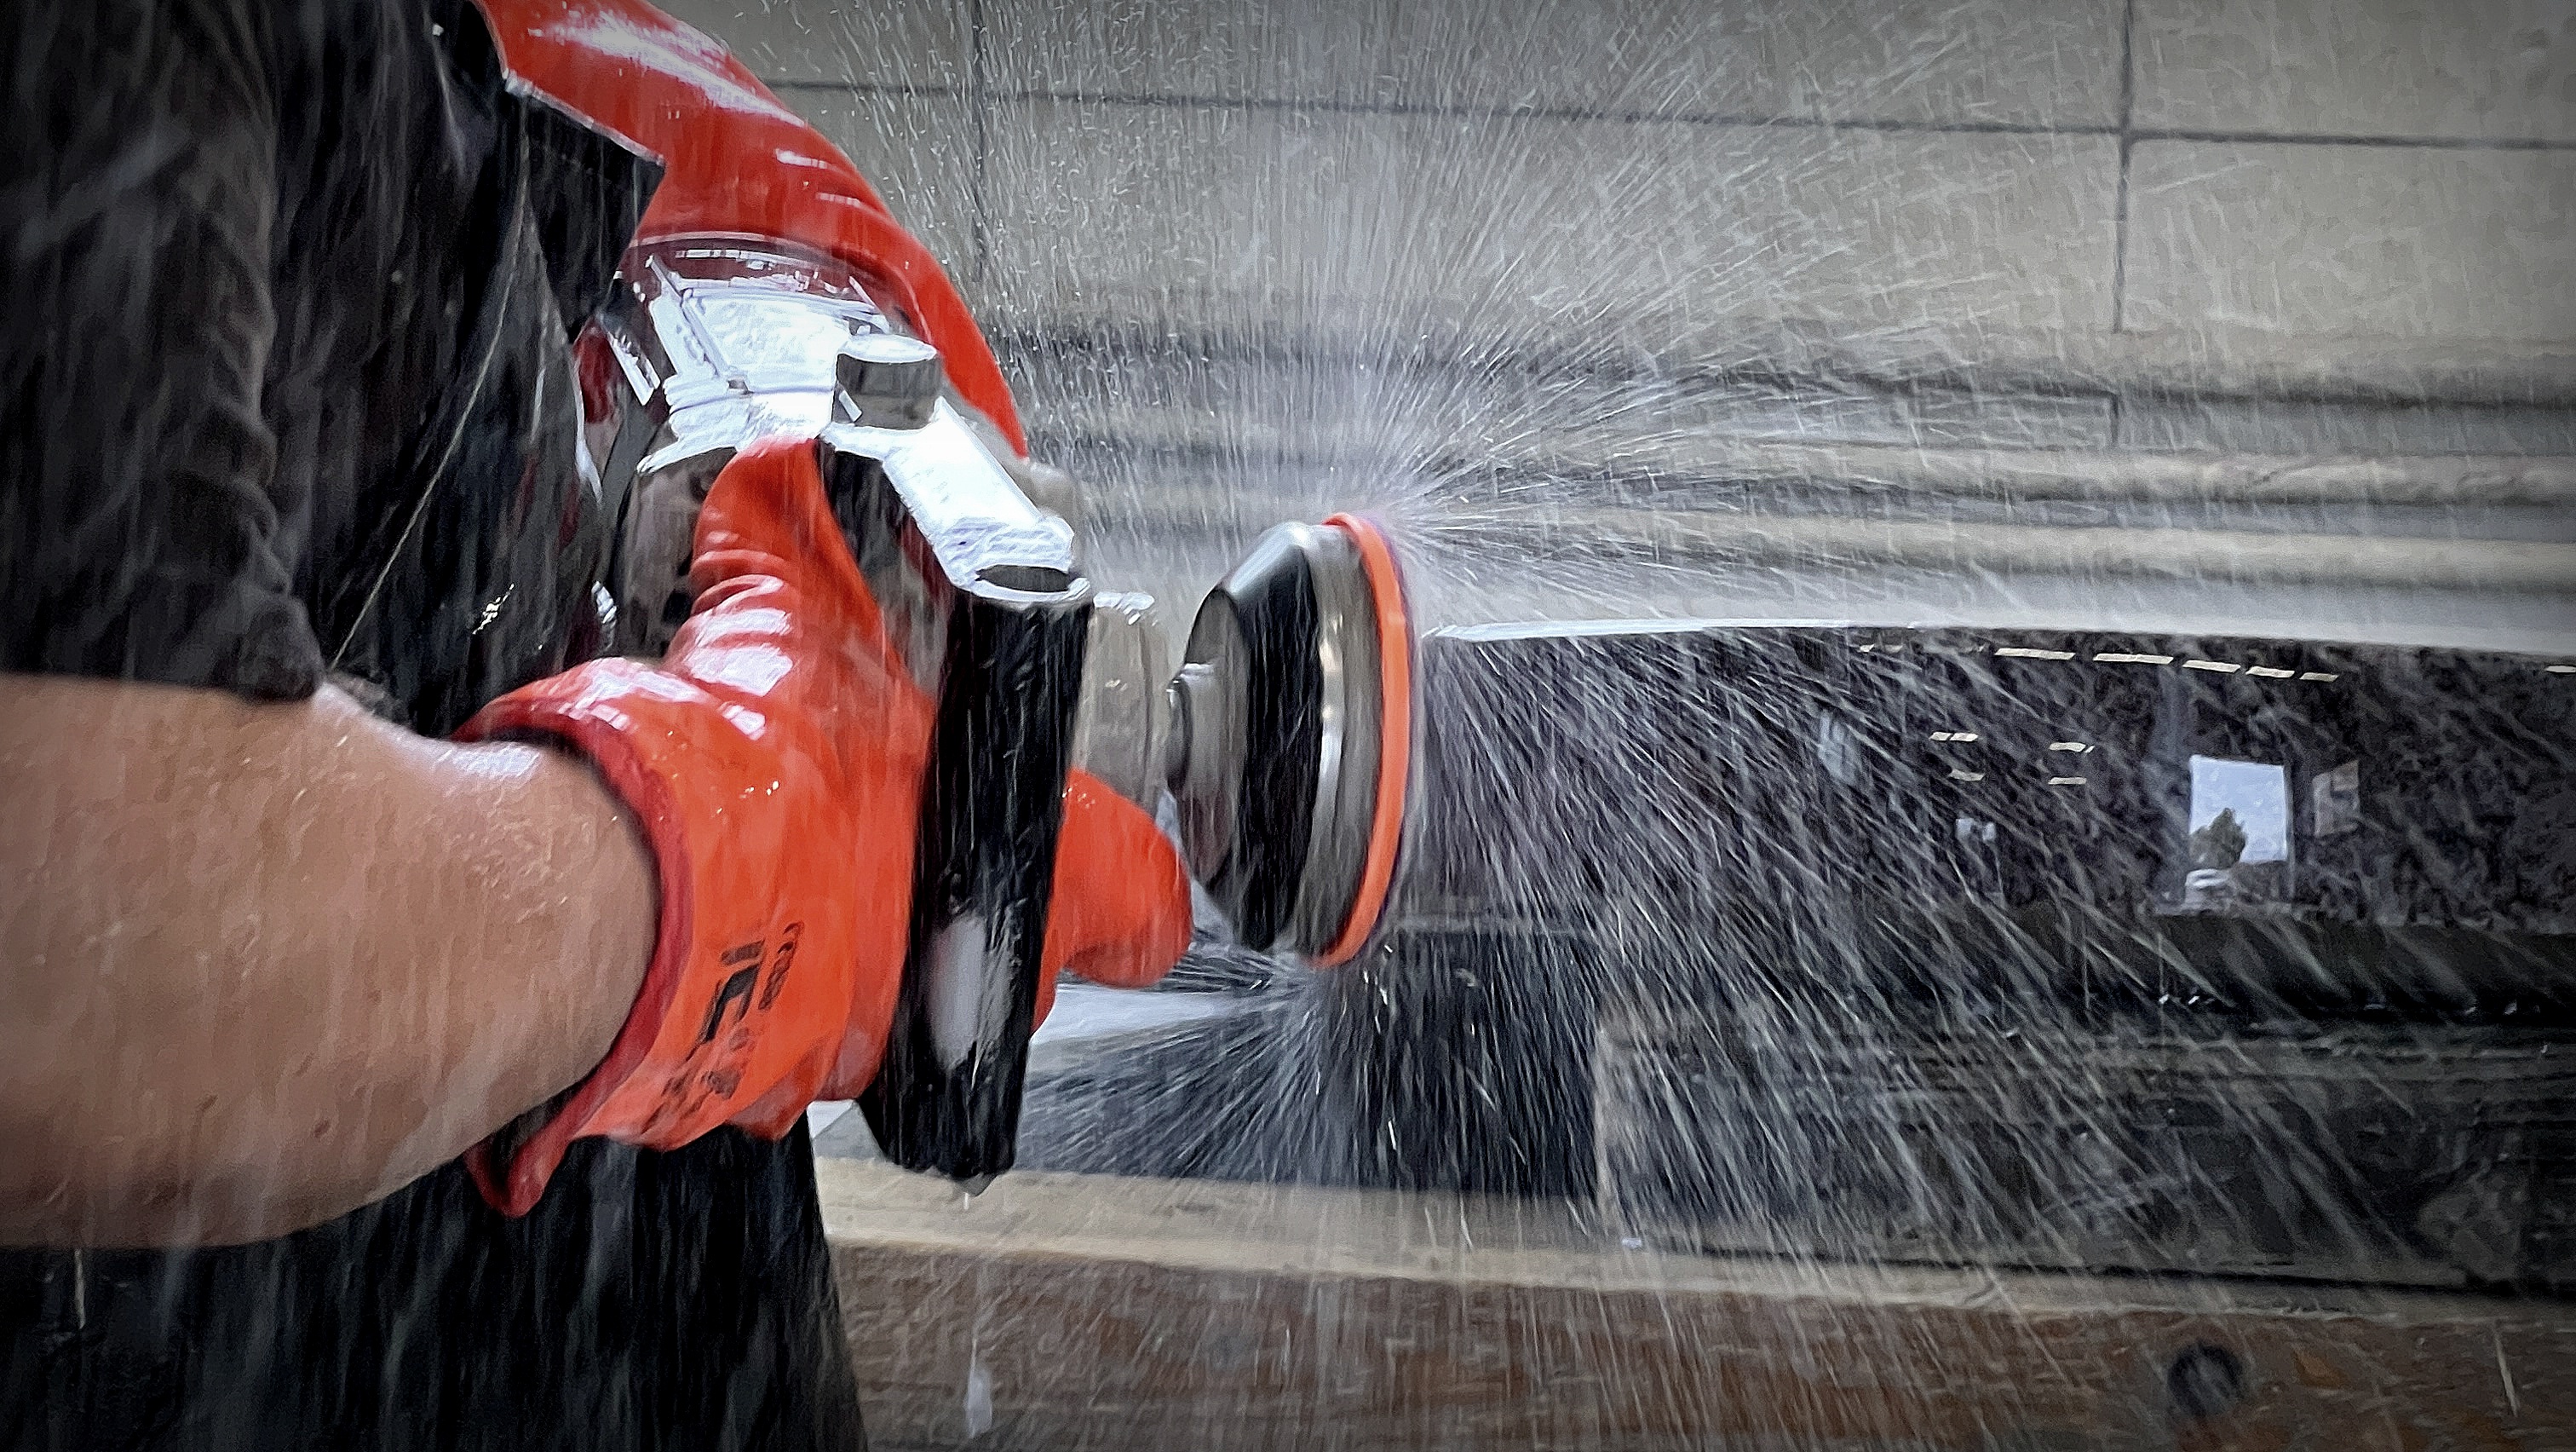
Photo: Stone polishing under water
A more detailed description of stone polishing in several points
- The first stage is grinding. This part can be divided into coarse sanding (grits #24, 30, to 60) and fine sanding, which basically hides the rough scratches from the previous steps (#120 to 160) and prepares the base for polishing. We covered the subject of GRINDING in more detail in this article
- Polishing starts somewhere at #200, which results in a fine colorless (pale, gray) surface without visible traces - scratches from previous graining.
- Using #400 #600 and #800 grits will bring out the color of the stone. This means that if the stone is to have a distinctive red, brown or deep black color as a result, at this moment the color of the material is clearly visible, without gloss or in semi-gloss (oily gloss).
- In case we are not satisfied with the result, we can continue with grits #1200, #1500 and #3000. Even with lighter materials, we can feel that the material shines beautifully. That may or may not be true. The best test is looking against the light. If the stone is perfectly polished, you see a perfect image/reflection in the image, same as in a mirror. If you see unclear contours, continue to the next step.
- In this step, however, it is the highest time for flawless definition of the material. We know from practice that people call any beautiful stone marble. And that is really a mistake. We mentioned how to define the material in this article.Why is this important? Because marble is polished by etching (using the acid contained in the discs together with fine diamond dust), granite is polished by heating and the subsequent formation of enamel using BUFF, polisher, polishing paste or polishing dust. We use a felt disc to polish dust or paste. As you can see, there are more options and it's up to you how you decide. In the case of patient and detailed work, the result will be perfect, regardless of whether you used buff, paste, dust or polish. If not, you need to find an error in the procedure, repeat the procedure or call our experienced technician at +421 903 528 039.
What should I do if I don't want high gloss?
In case you want a not high - mirror gloss, in case you want a matte surface, the above procedure can be finished earlier - for example, in the middle phase. This applies to the entire procedure. It is not possible to skip the steps, but it is possible to interrupt the process or finish earlier.
What is the difference in stone polishing tools?
If you have already searched our range of diamond tools for stone polishing, you have certainly come across many parameters, models and methods of use. In the next few lines, we will try to advise you on how to choose the best tool for your project. The basic division of tools depends primarily on your machinery and at the same time on the style of work, respectively the shape of the machined surface.
- soft polishing pads for dry polishing are suitable for machining shapes and planes. They are intended for work where it is not possible to polish under water, or the machinery does not allow it. These diamond wheels are clamped to the angle grinder using a velcro drive head. In most cases, it has an M14 thread. ATTENTION: small angle grinders have a speed of up to 11000 rpm! It is necessary to use an angle grinder with speed control.
- soft polishing discs for wet polishing are tools that every professional stonemason knows. It is also because he must own a stone polisher with a water supply to the center of the wheel. This is because polishing the stone under water is most effective. The tool is sufficiently cooled, the ground material is washed away. Soft stone polishing discs are primarily used for machining arcs and radii. They are mounted in the same way as dry polishing discs, using a backing plate with velcro.
- hard chamfering wheel for wet polishing are primarily intended for professional processing of flat stone surfaces. They are used in manual stone polishers, side machines, shoulder grinders or floor grinders. Polishing with a hard disc guarantees perfectly even processing of the stone. Hard polishing discs are not suitable for polishing without water.
There are several ways of attaching the tool to the machine. Which one is the most suitable for you?
- Velcro backers are very popular for a wide range of uses. In our offer you can find hard aluminum or plastic, rubber, foam, but also silicone - extra flexible. In any case, with a nut for attachment to a regular angle grinder with an M14 thread.
- Quick-release heads with a lock marked SL (snail lock), SF or bosch. Such a method is used primarily in stone-masonry workshops, and its advantage is quick and accurate tool replacement.
- The fickert, frankfurt or other special tool holders for floor grinders are used exclusively for professional use.
What tool size is optimal for my project?
In our offer on the e-shop, you will find polishing tools from 20 millimeters to 400 millimeters in diameter. The use of the tool depends on the method
when clamping into the machine, and it also depends on the maximum size allowed by the manufacturer of your grinder or polisher. It is also necessary to compare the revolutions of the machine and the recommended revolutions of the tool.
What to pay attention to when polishing a stone?
- First of all, care must be taken to protect health. Use protective equipment for the face, hearing and respiratory tract.
- You follow the recommended revolutions of the tool. There is a risk of destruction or burning of the tool and the surface of the material.
- In the case of tools intended for wet work, monitor the additional amount of water. There is a risk of deterioration of both the tool and the material.
- Check the quality of the fabric on the hook-and-loop fasteners. There is a risk of tool loosening and injury on worn zipper fabric.
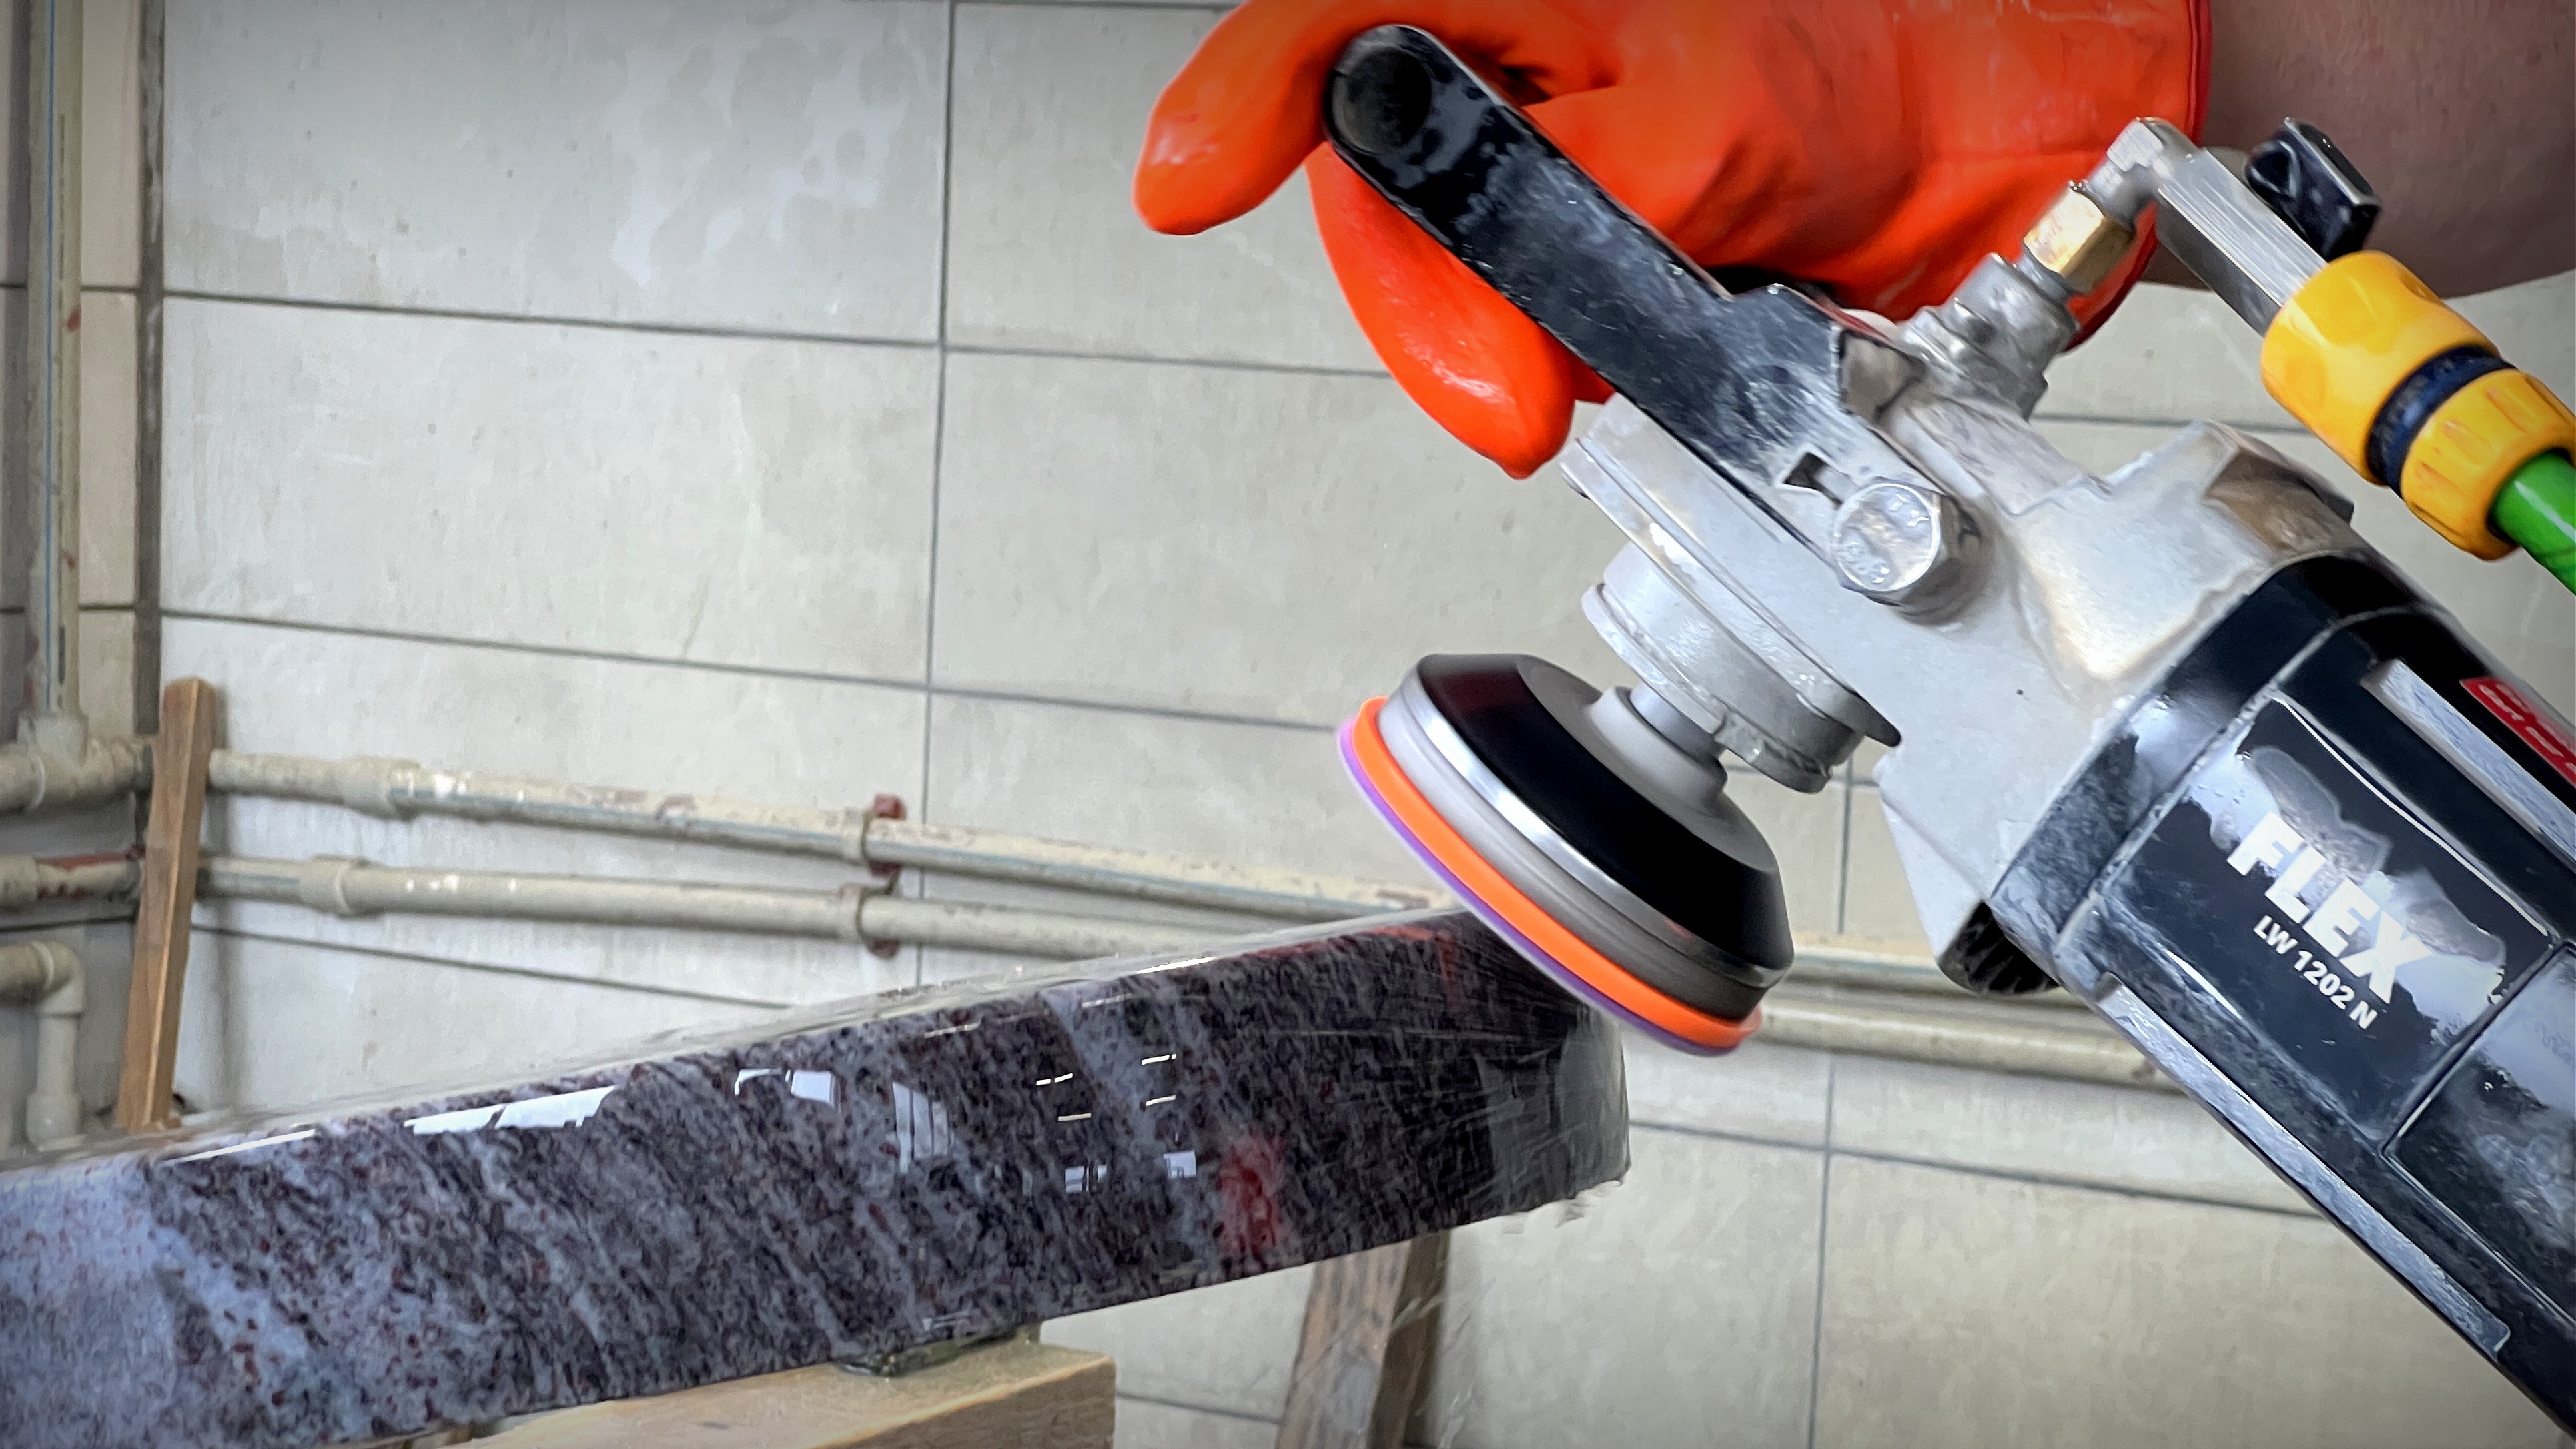
Photo: Stone polishing under water
Do you find this procedure too lengthy?
Know that it is the most honest procedure, the result of which is really long-term stability in terms of color and gloss. Stability that is meant in tens, hundreds of years. I will give an example:
- Visit the old Jewish cemetery and notice the shine and beautiful color on the black tombstones. Although it may have been more than 150 years ago, the shine and color are still there. Even though modern technologies like today's were not used, the same lengthy or even more lengthy procedure was used that you have just read. With the arrival of more modern tools, this work has been considerably accelerated, the process has been improved.
- Visit a new cemetery in your town and note the machined edges / corners on the newer cover plates, especially the ends. Is the same gloss all the way through? Is the edge color the same as the face color or worse? If you see differences, it may be due to the use of color highlighters, which lose their effect over time and UV exposure. It is a sign that when the work was handed over, chemistry was applied to enhance the color so that the "master" could hide the flaws. Its shortcomings or shortcomings of low-quality (cheap) material.
Conclusion
If you have read this far, you may have realized that being a professional is not that easy. Stone polishing at the highest level requires long-term experience, knowledge, correct procedures, quality tools and instruments, and most importantly - the hands of an honest craftsman. By following the steps listed and using the recommended tools, you can get beautiful results that enhance the beauty of each stone. If you devote yourself to this work with passion and consistency, the reward in the form of a beautifully machined surface and the great feeling of a job well done will delight you every time you look at the perfect material, which stone certainly is.